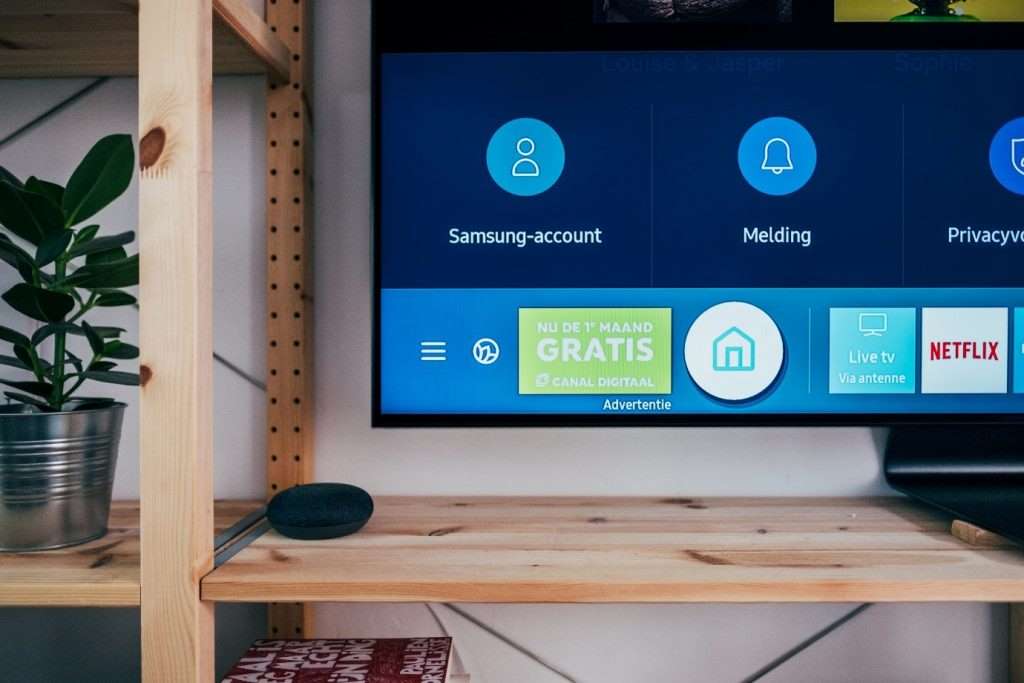
Install VPN on Smart TV: A Step-by-Step Guide

A Step-by-Step Guide on How to Setup VPN on Smart TV
The common problem that most people face when they buy a new smart TV set is the absence of a connection. Even though each product comes up with its own peculiarities, there are common steps that you can take to turn on your favorite movie or TV show. VPN on Smart TV will solve all your problems and allow you to have a good time. You can easily download VPN for your TV and forget about any possible restrictions. Using reliable options like VeePN will not hurt your budget. The provider offers a trial to check the software capabilities. Download it for free and answer the question “Can you install any app on a smart TV?” positively.
How Do I Connect My TV to VPN?
Some TV sets provide unrestricted access to available app stores, while the rest come up with harsh restrictions. The problem with the second group is easily solved with VPN on TV. Newer TVs involve Android to make the installation process straightforward. Actually, this process is analogous to installing VPN apps on your tablet or smartphone.
Here is what you are supposed to do:
1. Sign up for a reliable VPN. VeePN on Smart TV is recognized as very suitable.
2. Afterward, look for a VPN in a Google Play store to install it on the device.
3. Register, log in, and then make a connection with a server in a particular company. In other words, British servers are required for BBC iPlayer, while Netflix US is associated with an American server, and so on.
4. At last, you can launch a locked application and use it for playing the desired video. In most cases, it begins at once, but if you have some problems, then clear the stored data in your app, or try another server to take advantage of the VPN encryption on Samsung TV.
Alternatives to Google Play Store
If you do not have a very new TV set with a lack of Google Play Store access, then consider alternative ways to avoid possible restrictions.
A VPN on Your Home Router
You can install VPN directly on your router and protect the devices automatically. However, you should mind that this may be quite a challenging process if there is no compatible firmware on your router. In the future, the firmware upgrading may negatively impact the router. That’s why it is recommended to follow all instructions that the VPN provider gives you.
Sharing a VPN Connection Over Ethernet
Being not a very practical method, sharing a VPN connection with the help of an Ethernet cable between two devices is quick and simple.
With Window 10, you need to take these steps:
1. Open “Network & Internet settings” with the right click on the icon situated on the screen bottom-right.
2. Click on “Change adapter options.”
3. Study the list of available connections and find the one that mentions your provider—for example, VeePN TAP.
4. Click on it and select “Properties.”
5. Put a tick on the Sharing tab, where it is said to Allow other network users to connect via this Internet connection.
6. Open a dropdown list and choose Ethernet, and press OK.
7. Connect to VPN on TV.
8. Connect two chosen devices with an Ethernet cable.
For macOS devices, you need to follow these steps:
1. Click on the Apple icon and select “System Preferences.” Choose “Sharing.”
2. Look to the left and check “Internet Sharing.”
3. If you use an Ethernet connection, then select “Ethernet” in the dropdown menu. If not, then your option is “Wi-Fi.”
4. Check “Ethernet” in the box called “To computers using.”
5. Select the following menu and then connect to VeePN on Smart TV.
6. Use an Ethernet cable to connect the devices. Mind the second one will connect automatically to VPN.

Sharing a VPN connection wirelessly
If you use a VPN app regularly, perhaps you will not like the idea of having a long cable between two devices every time when you want to watch a favorite movie. Luckily, there is a way out. You can share a VPN connection over WI-FI.
In the case of Windows 10, you should:
1. Open “Network & Internet settings” with the right click on the icon situated on the screen bottom-right.
2. On the left-hand side, choose a “Mobile hotspot.”
3. Press this button along with “Wi-Fi” on “Share my Internet connection.”
4. You may edit the name or the password if you want.
5. Find “Change adapter options” and select the one that mentions your VPN provider.
6. Select Properties > Sharing tab, and allow other network users to use this connection.
7. Check whether the VPN works on both devices.
Does VPN work on smart TV supporting macOS? Yes, if you take these steps:
1. Click Apple icon > System preferences > Sharing.
2. Look at the left-hand side and check the box “Internet Sharing.”
3. Choose your VPN adapter listed in “Share your connection.”
4. Select “Wi-Fi” in the box called “To computers using.”
5. Connect both devices to the VPN.
Final Remarks
All in all, you can use all these recommendations and enjoy limitless access to your favorite content. But there is one thing that you should be careful about. Choose only a reliable VPN provider that comes up with clear instructions on the product. Use software wisely and widen your horizons without any special skills.
